Monday, September 29, 2014

There is Nothing SCARY About These Scarecrows!

Next to summer, Fall is one of my favorite seasons!
There are so many fun things to do- apple picking, pumpkin picking, local festivals and more!
The smells and decorations of Fall are some of my favorites!
Fall also bring iconic symbols to mind...one of which is the scarecrow!

I love making scarecrows with my students!  I usually have it as a non-directed activity and I love seeing what they come up with!  They especially love that they can dig into my scrap box and use WHATEVER paper they want!  There is no right or wrong way to make a scarecrow!

This year I am trying something new!  We have been working on shapes and I wanted a fun hands-on math center that would also produce something to make my bulletin boards look full of festive fall fun!

So I grabbed some paper, scissors and glue and got to work...

My almost 4 year old saw the paper, glue and scissors and needed in on the action, so I can now say this project is kid-tested and approved!


These shapes were all free-hand and cut, but I worried that my kinders wouldn't be able to do that- and since my focus was on reviewing shapes, I decided to make shape templates 
so that I could copy them onto construction paper, roughly cut them apart and place in baskets for them to choose the colors they wanted.  It would also allow for me to review the shape names ("you will need 1 hexagon...")

In addition, I wanted them to count and record the shapes they used so I made a recording sheet to attach to the project:
I also like to make a HUGE class scarecrow that we label using interactive writing (I don't have a picture since we didn't do it yet, but hope to get one up here soon!)
I then give them a sheet of 'labels' and have them match the words to label their own scarecrow parts.
(You can right click to save this image as a picture and insert it into a file to print a set for yourself to use!)

The templates and recording sheets for the scarecrow craftivity can be found here:
The templates will produce a scarecrow that fills a 12x18 piece of construction paper.  If you prefer a smaller scarecrow, when printing the templates choose the option to print '2 to a page' from your printer options and the templates will print at 50% the size.  You can also reduce the size on a copy machine.

I print directly onto construction paper via the copier's bypass feeder.  It helps reduce prep time of tracing shapes myself and also gives a nice crisp line for kids to follow when cutting!

I came across this free pattern block scarecrow template you can download from Jessica's Corner of CyberSpace!  You can find so many more holiday and seasonal pattern block templates on her site

I am planning on printing/laminating a few and placing them in a math center the week we do scarecrows.  We will be starting our number unit at the time, so I want them to practice counting/writing numbers.  I made this recording sheet to go with it:
Just click to download a copy for yourself!

As for ELA...
I have found a few good scarecrow books that I use every year:


This is a classic that is so fun to use because you can engage your students to help you 'act it out' while reading:

I am excited to try this new one out this year!  My son is such a fan of Otis books and this is one of the newest in the series:

But I also needed a fun shared reading that was simple for my students to read and re-read as part of our Readers Workshop unit of study, as well as our introduction to numbers unit in math.  So last year I made this book:

I had each page build on the next- and the text was easy and simple for them to follow!


I then had them each make a page for our class book that we put in the book nook!  That book was read and re-read so many times over the course of the year!


I had this number chart posted to help those that needed help while writing their own page:


And I also put the story into a smaller foldable reader so that each student could have a copy in his/her Readers Workshop book basket:


They used the b&w version and found sight words, letters we were working on, numbers, etc using highlighters.  After a few weeks of it 'hanging out' in their book baskets I sent them home so that they could add them to their reading treasure chests!


and have put BOTH of the scarecrow products I shared above on sale for the week:
You can get the Mr. Scarecrow Shared Reading for only $2 this week and the Scarecrow Craftivity Pack for just $1!  Combined they are $3 which is the TpT minimum for purchase!

Be sure to click the link above to see more Markdown Monday deals for the week!

Be sure to stop back later in the week...I am BURSTING to tell you about something I have joined and we have a really great surprise in store!

Until next post,
post signature

Thursday, September 25, 2014

Getting to the 'Core' of our Apple Unit!

This (short) week we finished up our apple unit!  We only had 3 days of school this week, but it was full of tasty fun and learning!

We continued this week with one of my favorite apple 'go-to' poems:
We have been working on finding our sight words in our poems with highlighter tape!

I also had the poem in the pocketchart where we changed the quantity and size/color of the apples for some fun re-reading!  I didn't get to take a picture of it though!  Sorry!

Last week I shared how to make the apple core labeling project (click the hyperlink to find the how to!) that I had prepped and ready to go!
I made a really large version so that we could use it for interactive writing.  This is our 3rd week of interactive writing and they are really starting to get it!


For those students not coming up to share the pen, I had them draw the 'core' and label along with us:

When we were all done I had them decide if they wanted to make a red, yellow or green apple and handed out the pieces.  Once they 'built' their apple they used our large apple core model to help them label their own core.

Our display is 'apple'-solutely delicious!!

Last week we tasted apples to graph which we liked best.
This week we used the rest of the apples to make applesauce!

We read Who Will Help? 
which is a 'Little Red Hen'-ish version about making applesauce!

We went over plastic knife 'safety' and then they all got to work!
They knew that if they did not use the knife correctly they would lose it...and if they didn't help make the applesauce, they wouldn't be able to eat it (from the book!)!


I cooked it with skins on...there was no way to peel and get them all set for my cherubs with my 'solo act'!  The sauce was a bit chunkier than in the past, but was just as delicious!

I added some water, cinnamon, sugar and a dash of apple pie spice!
It boiled and then simmered for about 2 hours...our room was the talk of the hall!

While they were at their special, I spooned it out so it could cool and it was waiting for them when they returned! 

A few were skeptical because of the brown color, but most ate it all up!

Since our school is out on Thursday and Friday this year for the Rosh Hashanah, we 'celebrated' Johnny Appleseed's birthday on Wednesday by making some apple pie playdoh!

I used my 'go to' no-cook playdoh recipe from Imagination Tree and added a container of apple pie spice to the dry mix (I doubled the recipe and used 1 container of spice for the double batch) to turn it into apple pie playdoh!

I don't have any pictures of the process of making it because we were in a rush, but it is similar to how I made the coconut playdoh and magic playdoh just with the added container of apple pie spice!

It was a HIT!  We had apple pies, apple pie rings, apple pie bracelets, apple pie snakes, apple pie snowmen, apple pie baseballs and so much more!


And even an apple pie unicorn!!
They were so excited that they were able to take it home too!

We will use that playdoh again next week in centers!
I just made another batch at home for my sons to play with, so we will have some extra for school!

We use Fundations, so we have covered t, b and f so far.  Next week we will work with n and m, but I am having them work with t, b, and f in playdoh center.

Two years ago I wrote a Donor's Choose project for playdoh stampers from Lakeshore and it was fully funded!  I have 3 sets of lowercase, 1 set of uppercase and 1 set of numbers.  I also got their rollers which are PERFECT for little hands!!
The only problem was storage...so my husband made me these stands!  

 There are several ways I plan on having the students use the dough and mats!

They will match the uppercase letter to the lowercase playdoh stamp...

They can also use the playdoh to form the letters they need (and if you don't have stampers, this is a perfect way to do this activity too!)...


Since I have all different levels, I am able to use the same mats to differentiate my instruction:
They will all appear to be doing the same activity, but I can guide it to match what each one needs to work on right now.

 So what if you don't have playdoh stampers?
Regular 'paper' stamps work just as well...

And you can also use magnetic letters pressed in the dough... 

 And if you don't want to venture into playdoh center yet, you can use the mats without dough: 


My kids will also record the letters they stamp for a bit of 'handwriting' practice using this recording sheet: 

And I will have this available as a center extension/early finisher activity.  I doubt many are going to choose to do this when there is playdoh out for them to work with!  If I see no one has completed it, I will use it as a morning work activity the following week!

All of the mats, recording sheet and printables can be found in my Apple Playdough Pack:

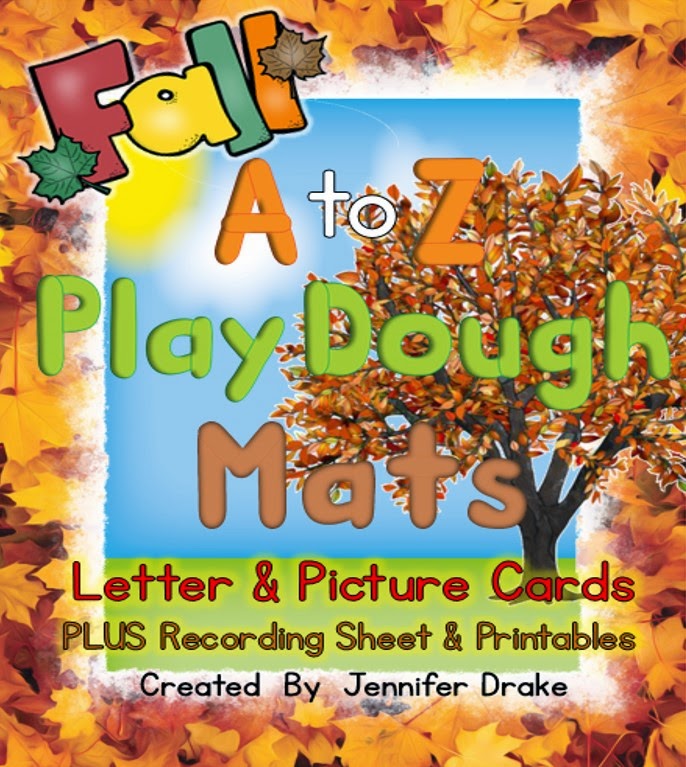
I just finished my Fall set too- perfect to use with pumpkin pie playdoh!


Both the Apple and Fall sets are 50% off until Saturday morning to celebrate Johnny Appleseed's birthday!

I'd love to give one apple set away as a Johnny Appleseed birthday gift!
Leave a blog post comment about your favorite apple activity, project, craft, etc!
I will randomly select a winner the evening of 9/26 (Johnny's birthday!)

My boys and I were supposed to go apple picking today, but Mother Nature has planned an indoor day of fun for us, so I am off to go make some apple pie playdoh creations with the 'apples of my eye!'

The adorable apple images you see on my pictures are from My Happy Place's Apple Clip Art set!

Until next post,
post signature