Creating and being crafty is one of my favorite things to do, so I am super excited to be a part of:
I have joined 'ribbons, tape and glue' with 16 other bloggers!
Each blogger has used the 'extra time of summer' to chose a product to make for themselves, that they otherwise wouldn't have had time to do, and is also making an extra to give away!
My project has been on my summer 'to do' list for about 3 years! This hop has finally given me the push to get it done and I am so happy to share it with you all!
Celebrating a birthday is a big thing for me! I love having a special surprise for my boys when they wake up! We also love to throw fun themed parties!
There was the farm party...complete with a petting zoo...
And then construction...
Firetruck...and yes a firetruck came to our house!
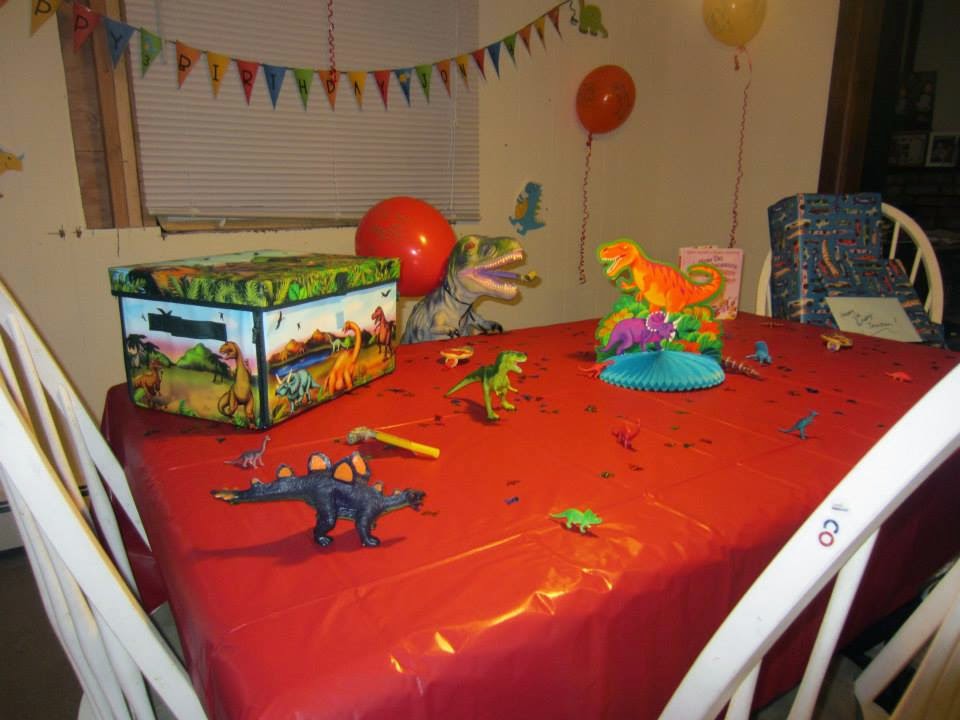
And more recently we had dinos & monster trucks...
(Please ignore the unfinished house- we are still remodeling!!)
And then I think of my students...
Some of them aren't lucky enough to have such fanfare, so I want to make their school birthday a really big deal! For the past few years, while I 'waited' to make my project, I would use construction paper folded in half to make a seat sign.
But now I have this...
a chair cover to announce a student's birthday!
It has a clear pouch so you can add the student's name (and then give them the 'special card' when their day is through) so that everyone that enters your room that day knows the birthday child's name and can acknowledge him/her!
From what I understand there are some schools that do not allow birthday celebrations, so I also made this chair cover:
to use as an author's chair for when a student is sharing his/her writing with the class or to highlight and celebrate a student that has done a fabulous job writing!
So how did I go about making these?
Lets find out!
To start I am going to say I am not a 'pattern girl' and/or do I really measure anything! I usually do it all by eye (it drives my mom nuts!), but I tried to remember to measure this time so that I could give you better directions!
For each chair cover you are going to need:
*18"x32" inch
piece of fabric (this will fit a standard elementary child chair- change accordingly if you are making for a larger/smaller chair)
*(2) 15" (approximate size- be sure to measure your chair cover before cutting) pieces of
wide ribbon (optional- to trim the sides)
*cold laminate (optional- for the name pouch)
*
decorative letters (optional- you can also do an iron on transfer that you make on your computer and print to transfer paper)
*pins, thread and sewing machine
Step 1:
Cut your material to size and sew around all 4 sides to 'seal' the edge (I do a double fold so that even on the inside you don't see the raw edge)
When you are done it will look like this on the back side:
Step 2:
If you are adding the name pocket you will do the following, but if not, skip down to step 3! I did not use a name pocket option for the author chair version.
This step is a bit tricky and tedious because the laminate wants to slip away!
Cut a piece of cold laminate (or any thicker clear plastic sheeting) to approximately 12"x3"- or to whatever size fits the tag/label size you plan on using.
(I purchased this roll of cold 'peel and stick' laminate nearly 10 years ago and its still going!)
Measure down about 10-12 inches from top and secure it with pins
Sew on the 2 sides and across the bottom so that when you are done your pocket looks like this and you can slide the name tag in:
Step 3:
Next you are going to fold the bottom upward about 9 and a half inches and pin the sides.
And then fold the top down about 6 and a half inches and pin on the sides, as well
Step 4
Now it is time to sew up both sides!
Just run the sewing machine right down both sides!
Step 5
Adding the 'details!'
If you want to add some hanging 'pop poms' and/or ribbon, follow these steps. You can leave it without as I did with this version:
This was my first attempt and sewing on all the pieces was taking FOREVER! So I decided to go with the decorative elements instead (but if you win, you can choose this version!)
Cut your decorative elements to fit the length/width of your chair pocket and pin on
For the ribbon I chose a wide ribbon to fold over the edge to cover the stitching.
Then sew them on
Step 6
Letters!
You have the option of purchasing pre-cut letters or you can buy felt and cut them yourself. This
bag of 72 letters was $9.99- which I felt was more than a good deal and worth my time-plus the colors matched the birthday fabric perfectly! I had to buy 2 bags to have enough letters for all the covers I was making, but if you are making 1 or 2 one bag will be plenty! I am using all the extra letters for a 'Chicka Chicka Boom Boom' sensory bin, so nothing goes to waste!
I laid the letters out to get them to fit just right
and then chose to use fabric glue to adhere them to the fabric cover even though they were peel and stick.
I know what a class of kinders can do and didn't want to take any chances!
and this particular glue is 'OK to Wash' as well!
Just spread some glue on and stick them to the cover!
Let it dry and it is ready to make someone's day extra special!
Here are some different views of the covers:
I made a blue and yellow version- winner chooses what s/he would like!
Here is a view from the front.
And some views of the 'Star Author' chair:
Now one thing I want to warn you about...
DO NOT drop your box of 500 pins onto a carpeted floor! This took FOREVER to clean up!
So are you ready to win a special chair cover and make a child's day extra special?
I am running 2 Rafflecopters- 1 for the birthday chair cover and one for the author chair cover. You can enter both, but you can only win one prize so that I am able to spread the wealth!
And to help make things even sweeter, with the birthday chair cover you will also receive
my editable birthday pack for free!
I am also putting both of these products on sale for 50% off during the hop! If you purchase them and wind up winning, I will let you pick something different (equal value) from my store!
So if you think you are ready to enter, here are the rafflecopters!
Please note these terms and conditions for entry:
The winner must be a classroom or homeschool teacher and must live in the contiguous US (because of shipping). You will be contacted if you are the winner and will have 5 days to respond to give mailing instructions or an alternate winner will be selected. All entries will be verified.
Enter this one for the birthday chair cover:
Enter this one for the star author chair cover:
To find your next creative creation up for grabs, head to:
Wishing you a wonderful new school year that is full of celebration!
Until next post,