Crayons & Cuties in Kindergarten Home About Me My Classroom My Shop Image Map


Showing posts with label Snowman. Show all posts

Thursday, January 14, 2016

'Sneezy the Snowman' Visits Our Class!

Do you know this amazing winter story?

I was introduced to it last year when I read this blog post on The Primary Pack by Kristen from Loving Teaching Inspiring.
It is actually one of the top visited blog posts on The Primary Pack!

I had never heard of the story but the project looked super cute!

Unfortunately due to so many snow days last year I never got to do it- HOW IRONIC!!

So this year I was determined to include it in my plans!

So this past week we read the story and used it as a springboard for discussions about items that are hot and cold.
We talked about what melts snowmen (things that are hot) and what would be good for a snowman (things that are cold).

We spend 20 minutes at the beginning of our writing block each day engaging in interactive writing.  We are also working on making lists, so we made interactive writing lists this week that were inspired by this book!


Although I loved the idea of the puffy paint for the melted snowman, we simply did not have the time to fit it in, so I opted for construction paper projects.

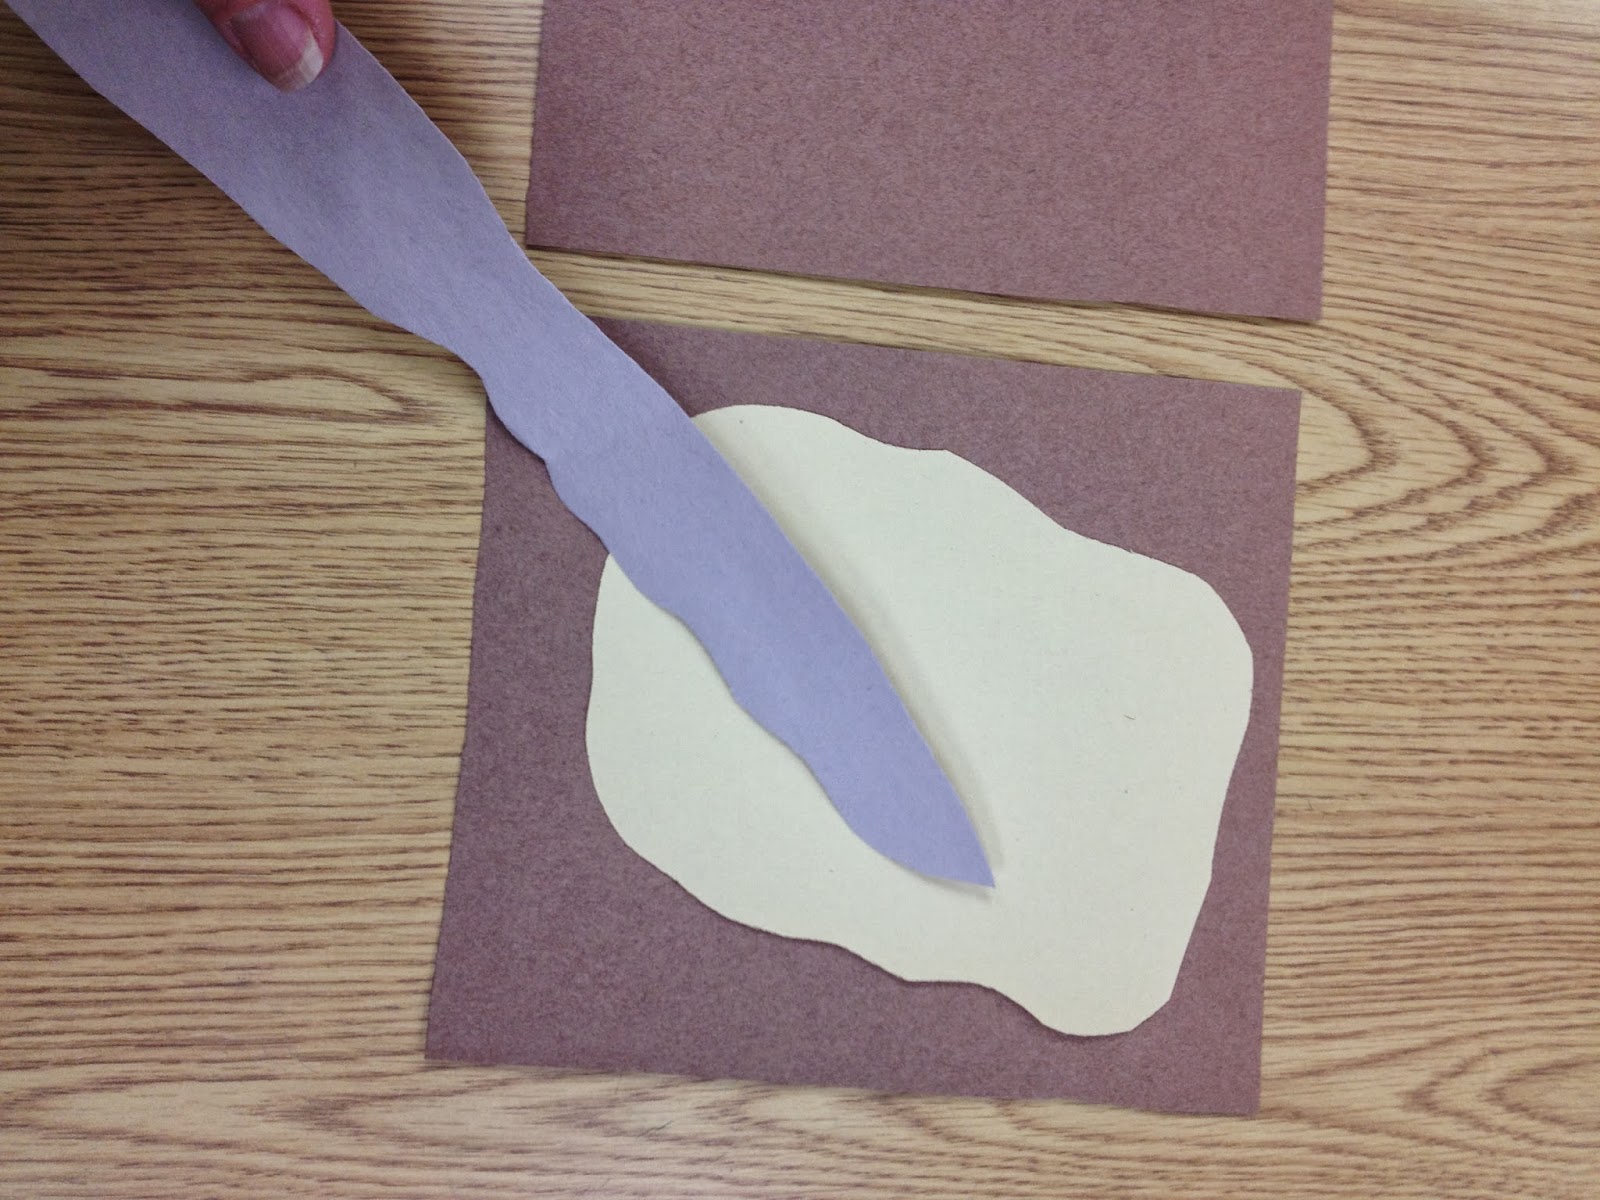
I showed them how to make a 'melted snowman' and we talked about all the different things a snowman has and would be found in his/her 'melted puddle'

Then I let them get to work!

While they were constructing their snowmen, I walked around and assisted each child as they wrote what melted their snowman (I reminded them to use spacing, a period and helped them stretch out the words).
[I wrote their translations on the bottom after they left for the day]

Here are a few of our creations and ideas:


Some of the ideas were inspired by the story, others from our interactive writing lists and others were unique and new!

Look at how ADORABLE our display is:


You can find this printable from Loving, Teaching, Inspiring here:
and be sure to check out all her pictures and how-to on this blog post!

Don't forget to check out the Penguin Palooza that is going on Jan 14-19th!
Click for more info:
     

Until next post,

Wednesday, December 16, 2015

Snow Dough!

We still have 6 days of school left until break so I am bringing in some reinforcement...
I found the recipe on this blog post from Dazzle Design via a recent Pinterest escapade and knew it was something I wanted to do with my students (and boys!).

The recipe does not call for many or 'off-the-wall-hard-to-find-expensive' ingredients!
You simply need:
*baking soda
*cornstarch
*warm water
*peppermint extract

SIMPLE!

So I gathered my supplies and got to work!
Put 2 cups of baking soda and 1 cup of cornstarch in a saucepan and stir to combine.
Add 1 1/2 cups of warm water and 1 teaspoon of peppermint extract.

Stir to combine over medium heat and bring to a boil.

NOW learn from my mistake!
My first batch I was afraid of burning and took it off the heat too early:

This is NOT what you want it to look like:
It was WAY too loose!
(Don't worry- I wound up saving it!  If you do this too, just put the mix back into the pot and heat for a bit longer until it thickens!)

SO, keep the mixture on the heat for a bit longer and just keep stirring.
As it starts to thicken and resemble 'frosting' remove it from the heat and continue to stir as it thickens.  
This is what is should look like:
And then pour it onto parchment paper (or straight on your counter) to cool

If you are pressed for time (like I was) you can pop it in the fridge
then take it out, knead it a bit and break into balls.

The recipe on Design Dazzle calls for iridescent glitter. I didn't have any (and I get nervous letting kids man-handle play with dough with glitter for fear of them wiping their eyes after) so I chose to leave it out!

Time to pack up the dough!
Put each ball into a bag (I had candy bags, but a ziploc would work too!) and tie it with ribbon.
I added this cute little tag (stapled it to the ribbon) so that they can take the tag home after then RIP the bag open and play with it!

Our dough is coming from our classroom elves, Harvey and Holly:

I'm going to let them play with it for a bit and then let them take the dough home.

My kindergartener took it for a trial run for me.  It was really cool and was easy to use to form a snowman:
I'm going to put out some beads, sequins and pipe cleaners so they can decorate their snowmen!

Want to bring in some snow dough?
I made 3 batches and it gave me 24 balls of snow.
You can grab the tag and note here:
I put a 'generic' note and a sample of my note in the free download.

I can't wait to share some pictures of my students using the dough and the creations they come up with!

We'll also be making 'candy cane' playdough later this week!
Come on back to see all the fun!
Until next post,

Sunday, December 13, 2015

Snowman Soup

Are you planning on giving your students 'Snowman Soup' this holiday season?
I have given this to my students in years past and never 'loved' my topper, but during the last TpT Cyber Sale I found a Snowman Soup clipart set from Scappin' Doodles!
I was so excited to use it to make this topper:

So it was time to get to work!
I got these adorable bags from Michaels yesterday...and they were 50% off!
There are 25 bags in the package...and it came down to less than $1 after my 15% off teacher discount (if you don't already know about it, click the link...simply show teacher ID each time you shop at Michaels and you get 15% off your order!)

I gathered my supplies...
hot chocolate packets, marshmallows, Hershey Kisses and candy canes


Each bag got 1 packet of hot cocoa, 2 large marshmallows, 2 Hershey Kisses and 1 mini candy cane:
I then got the excess air out and zipped them closed.

I am waiting on printer ink (to be delivered tomorrow!) so I could not print my toppers yet, but I will print them, cut, fold over the top and affix with a staple.

 and will put them in the kids gift bags with the Snowman Soup packs!


It will open in Power Point.
You can print the tags 'as is'
or add your name:

You can even add your own text to the back (maybe your recipe is a bit different!)

And as you can see, the tags come in both color and black and white!
You can print the b&w version on colored paper to conserve ink!

I have some other food/snack toppers in my TpT Store too:


If you are searching for more winter and/or snow resources, be sure to visit my store:
and find the 'custom category' on the left sidebar for Winter!

Happy Holidays!
Wishing you 'snow' much fun this holiday season!
Until next post,

Sunday, March 9, 2014

Teaching 'How To' Writing To Kinders!

This year we switched from writing 'expert books' to 'how to' books for Writers Workshop.
We will be entering week 3- where I will be sending them off to come up with topics on their own, but had a great time teaching them the components of 'how to' with a lot of visuals, fun and food!

We started by reading How To Make Bubbles that comes from a series of 'how to' books written by Pebble Go.  We 'analyzed' the book and listed what made it a 'how to' book:

From there we read about making peanut butter & jelly sandwiches and made 'mock' sandwiches by demonstrating the steps using paper props!  I don't have any peanut allergies, but I wanted this to be a 'quick' demonstration- and was afraid if we had real food it would have taken MUCH longer!

Our 'props' and story

First we lay out the bread...

 Then spread the peanut butter...

 Next add some jelly...

 And last put the other slice on top!

The children then drew pictures to show what they did- and some even opted to add words!

From there we worked in a few 'fold out' how to books....
We were doing a dental health unit, so I used this one!

And since snowman building was OH SO familiar this winter, this how to was a breeze! 


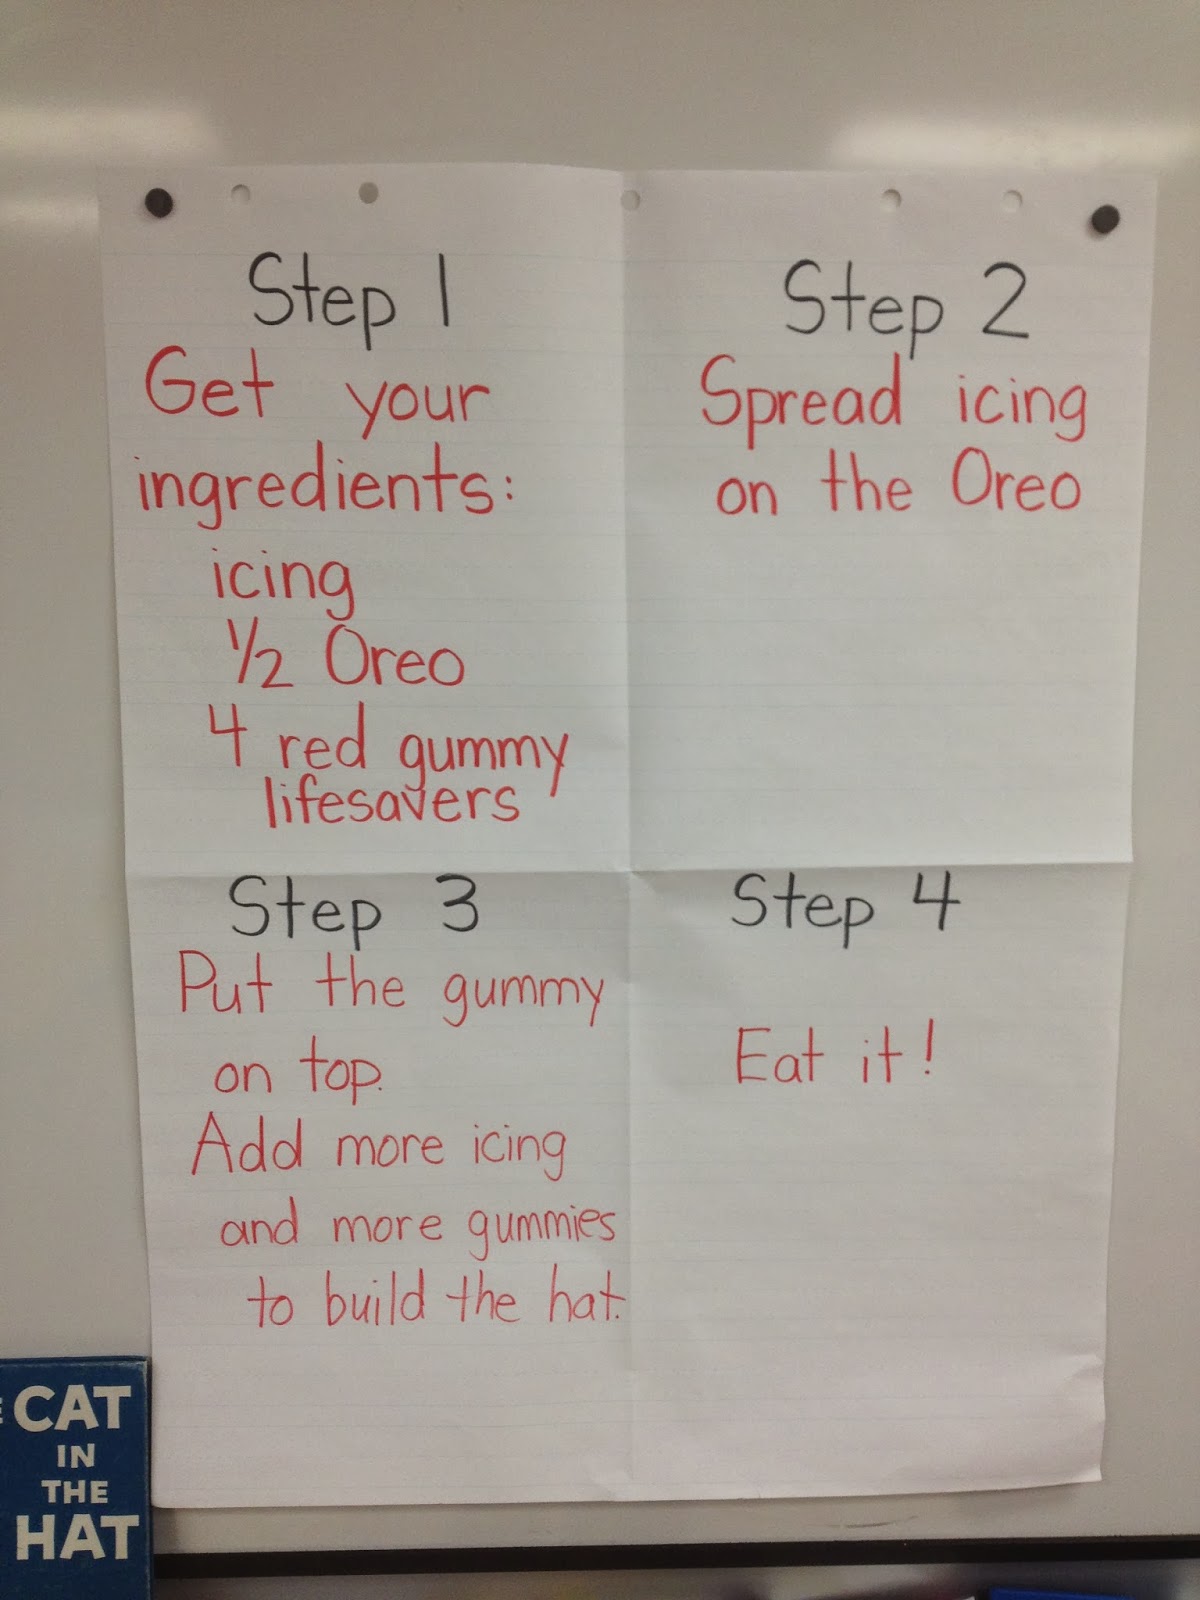
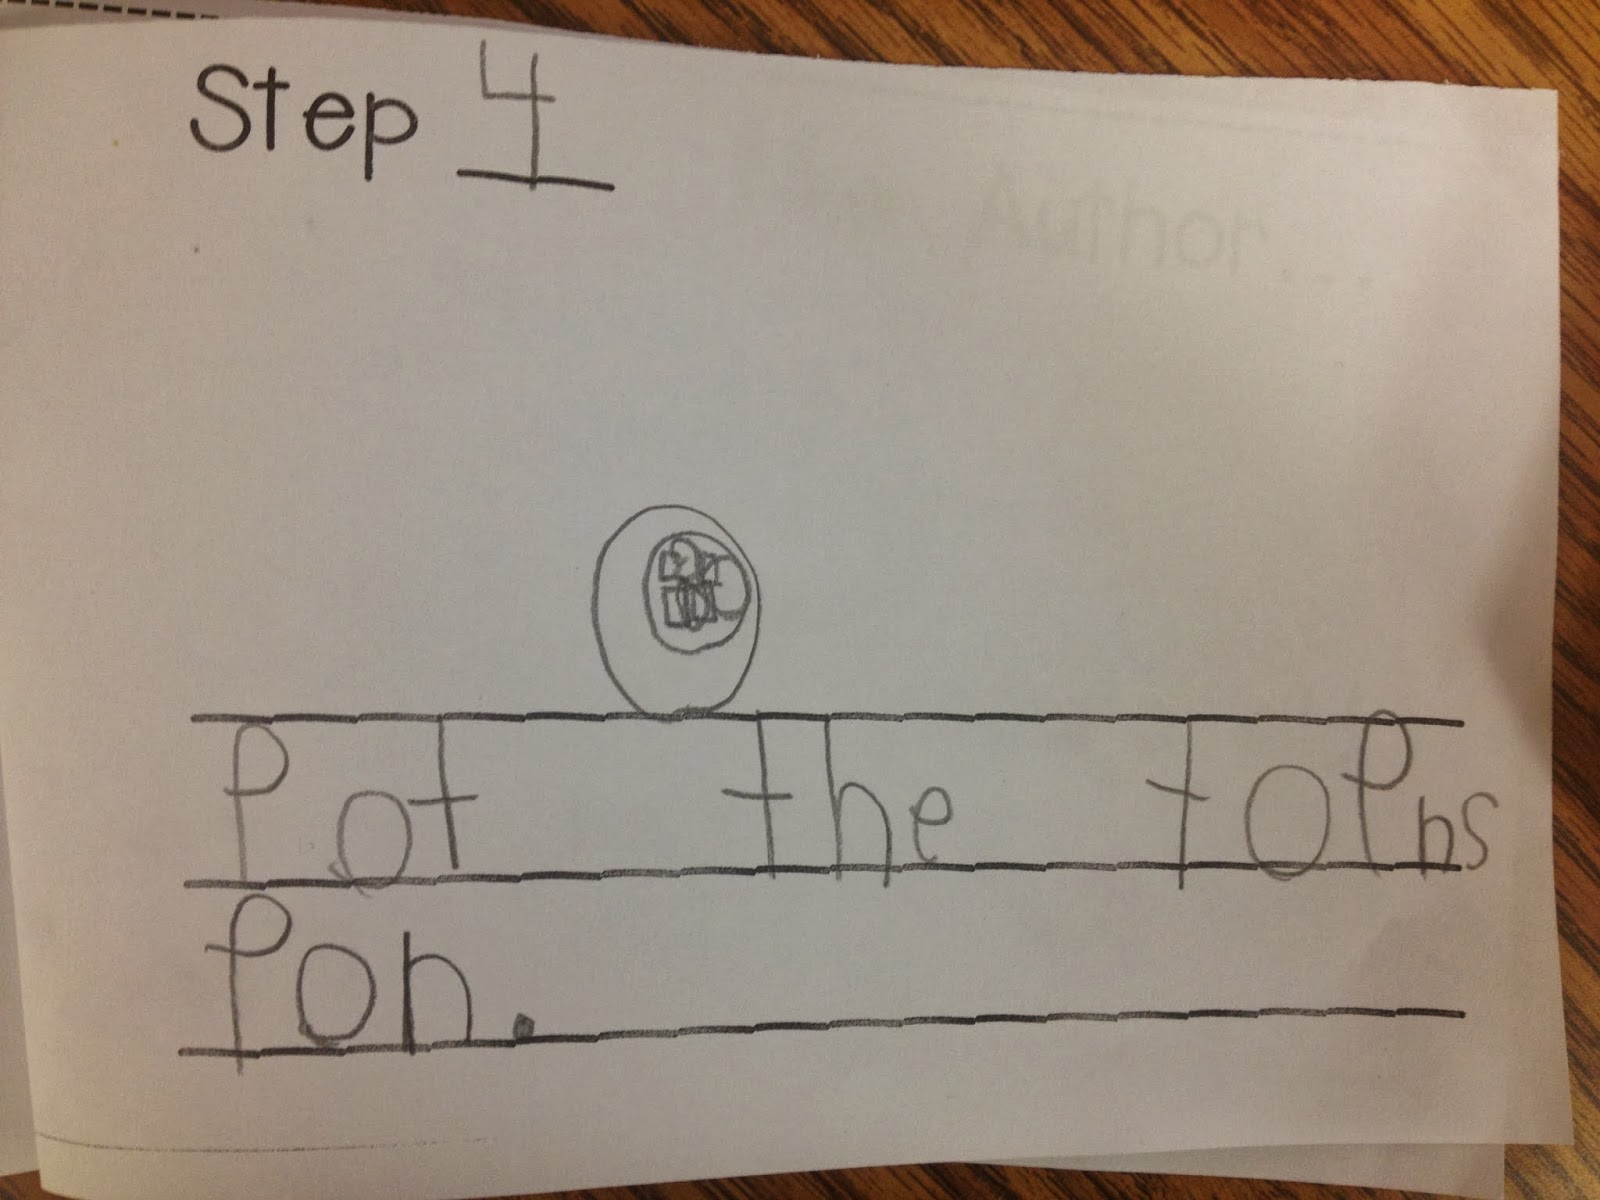
We also incorporated our 'how to' unit into Read Across America week and told 'how to' make a cat in the hat food snack!  You can read about the entire process from my earlier blog post found here!


And also into our '100 Day' Festivities!  Read all about those adorable books here

So now it was time to show a how to from start to finish and in many different ways- a chart, a flip out book and a story they wrote on their own!  Every kid I know LOVES pizza...so I went with that!

We read Pizza Pat by Rita Goldman Gelman.  It's a fun story to the 'tune' of  'The House That Jack Built' that tells how a pizza goes from dough to delicious (with a surprise ending!)
I had the 'steps' for making pizza on cardstock and I handed them out to the kids.  We did a 'human sequencing' activity to get the steps in order and then used interactive writing to sequence our steps.


From there I had them make a fold-out sequencing activity.  They were given the option to use the pictures I had provided or to draw their own.

From there we made paper pizzas- following all the steps we had outlined on our chart (less the cooking and eating!)
I LOVE how these pizzas came out...
the very detailed almost real looking pizza!

the bold and colorful pizza- 'the works!'

 the 'extra cheesy' pizza!

the 'plain cheese' pizza!

and the 'funny face' pizza!
(she told me in her house they make their own pizzas into funny faces and then Daddy cooks them- how precious!)

They used the chart we made, references to the fold out book and their paper pizzas to help them complete their 'How To Make A  Pizza' books!

'roll the dough'

'spread the sauce'

'spread cheese'

Step 4 varied..for some who did not want any toppings it looked like this: 
'cook the pizza'

And for others... 
'put the toppings on'

and each book had an author page
'cook it and you eat it'

Here is my 'funny face pizza' author's book from step 1 to 4.  I LOVE how her drawing is EXACTLY like the paper pizza she created! 
'roll the dough'

'spread the sauce'

'sprinkle the cheese'

'add toppings'

'cook it then eat'

But our fun and knowledge of 'how to make a pizza' did not end there!
To 'end' our week of pizza fun, I wanted them to really SHOW me how to make a pizza- BUT- how would I cook them?  I decided to make cookie pizzas- and originally was going to just use a sugar cookie as the dough/crust, but fell upon an edible sugar cookie recipe!  Now they could actually 'roll the dough'!

I gathered the ingredients...
dough=dough
icing=sauce
coconut=cheese
M&Ms (red, green & brown)=toppings

Each child had their own plate with a ball of 'dough' and spreading stick...
We passed out the remaining ingredients and then it was 'show time!'

Step 1: Roll the Dough

Step 2: Spread the sauce

Step 3: Sprinkle the cheese

Step 4: Add the Toppings 

AND...the finished product!  It looks SO real!

I had each of them make a chef hat in the am, as well as the badge "Ask Me How To Make A Pizza!'

And when it came to step 5...
EVERYONE LOVE their cookie pizza- and were able to tell me the steps!

And now our whole school knows what we have been working on with this tasty bulletin board!

Considering doing the same in your class?
All the components mentioned above, as well as project ideas, are detailed in this pack:

You can find the How To Build A Snowman pack HERE:

and if you are working on Dental Health, this How to Take Care of Your Teeth can be found HERE:

Recently added...


and in these new packs:
I included a sequencing craftivity to help verbalize how to make a cake:

and how to grow a flower:


You can find ALL of my 'how to' packs in this money saving bundle:

As I add 'how to' packs to my store, they will be added to this bundle.  If you already own it, you will get the additions at no additional cost!

So this coming week I send them off ready to write their own 'how to' books!
I am guessing I am going to get A LOT of 'how to catch a leprechaun' books, as this is what we will be talking about a lot this week!

I'd love to hear some suggestions on other ways to teach 'How To' Books!


Until next post,
post signature
Related Posts Plugin for WordPress, Blogger...