
Last year was the first time I ever had to teach 'decomposing numbers' to my kindergarteners...and let me be honest...it was also the first time I had ever heard of it!
To say it was a train wreck would be an understatement!
As I taught the kids I was teaching myself- and I made PLENTY of mistakes!
So one of my professional goals for this year was to make sure I taught this better!
Summer came and went, Christmas break came and went...and now...the decomposing numbers unit is creeping up on me! AGGHHHHH!!!!
Ok- so how am I going to teach this concept to my kinders so that they UNDERSTAND it...but even more important...how am I going to make sure that what we do with it is FUN?!!
So I thought and thought and was staring at a box of Monsters Inc Cheez Its and it came to me! MONSTERS! It's perfect! Last year I felt like I was being 'attacked' by decomposing numbers so a monster theme was quite fitting!
I scoured the house, grabbed what I thought I would need, a bit of trial and error and WAL-AHH...

A Decomposing Numbers Monster!
So...how did I make this guy??

Grab a cereal bar box (or crackers- cereal boxes were too tall), a sheet of card stock (1 works great for this size box- you will need 2 sheets if you use a bigger box), monster printable, scissors, a knife, tape and some wrapping or scrapbook paper!
Now...time to get to work!

Cut the top tabs off the box

If you want to wrap it, do so now. If not, leave the box as is (I made one of each- both are cute and work the same!)

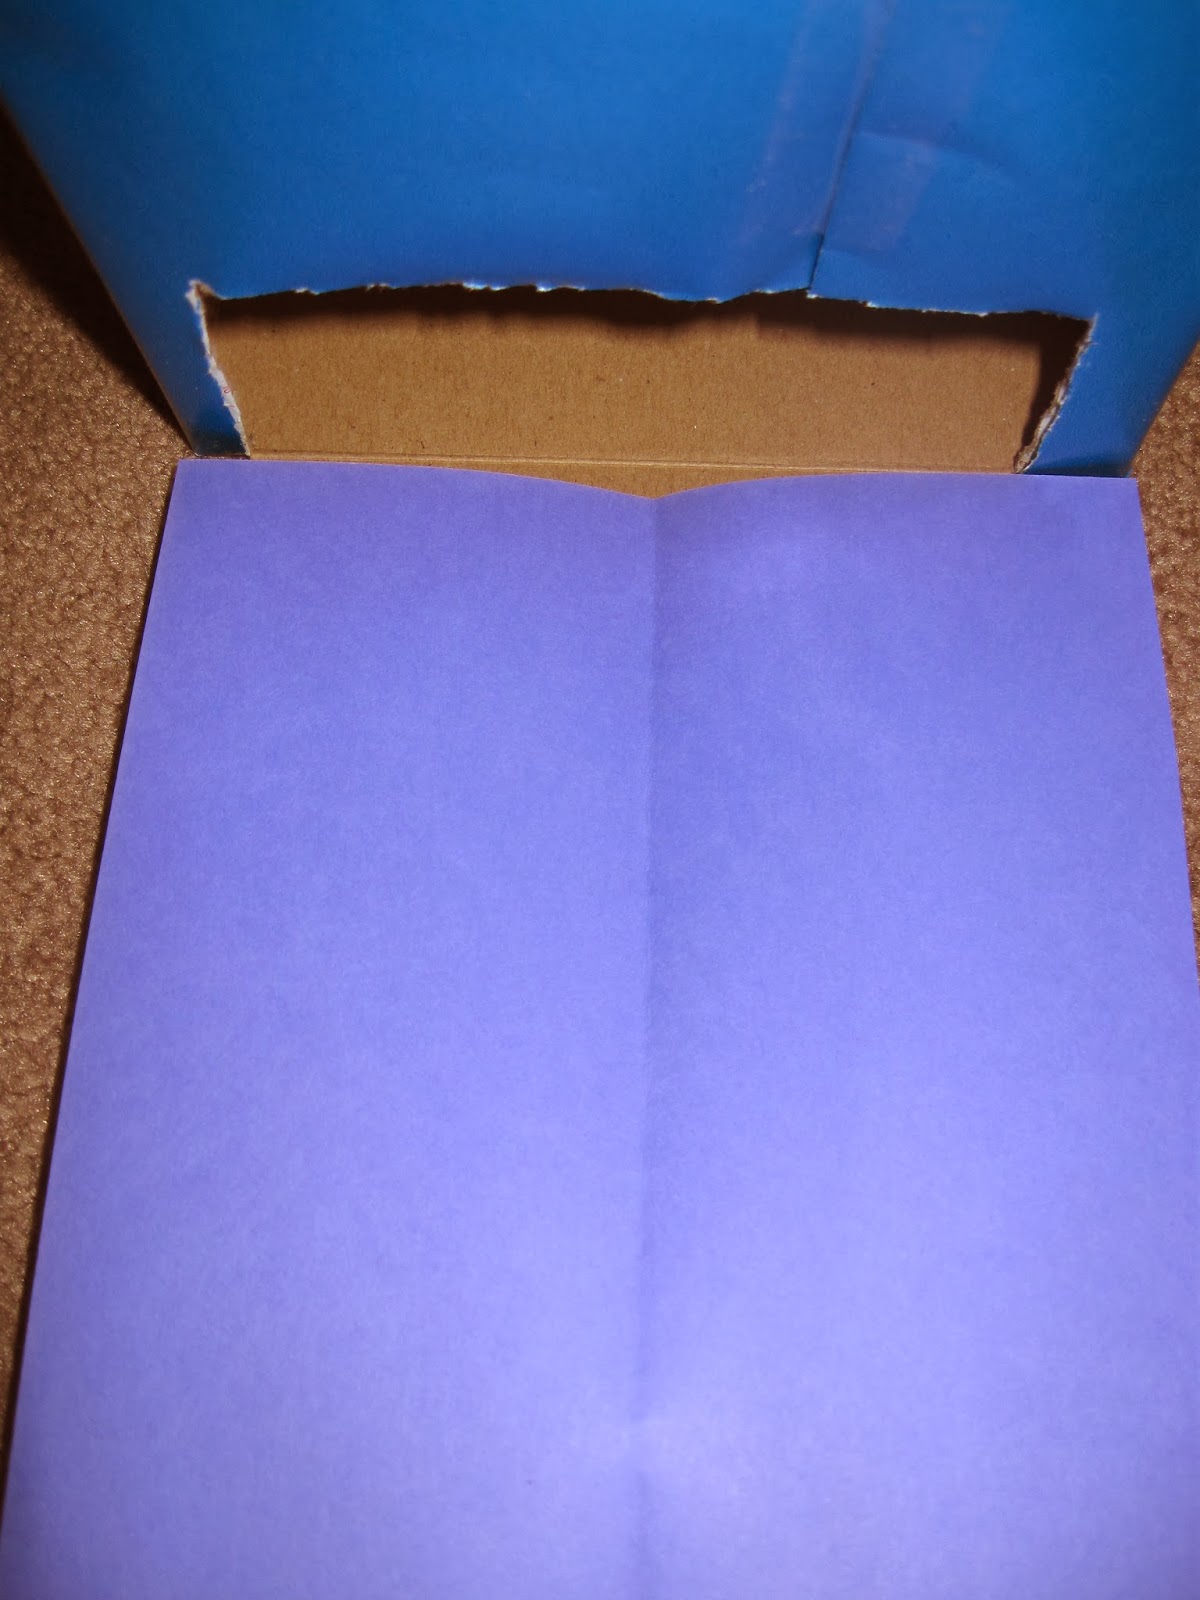
Use the knife to poke a hole into the front of the box- be sure to leave a 'lip' on the side- and cut out a rectangle-like shape.

If you wrapped it, you will need to tape the paper to the box here.

Repeat on the other side. This is a birds eye view of what it should look like when you are looking into the box after both sides have been cut.

Measure the cardstock to your box. I put a little fold so that I knew where to cut.
Cut off the excess and then fold that piece in half- this will make the slides- but keep the cut-off- that will be your divider!

Trim a bit from each piece- to make room for the divider.

Put the first slide in- tuck it into the side and secure with a piece of tape.

This is the view from the top- see how it 'curves' as it gets to the bottom to make the slide!

Trim the excess from the top and secure with a piece of tape (or staple).

Do the same for the other side/slide, but be sure it is going the opposite way!

Put the divider in-between the 2 slides- basically just slide it down between the two. Trim off the excess.

Secure both the top of the divider...

...and the bottom with tape (tape it to the slides on the bottom and the box on the top).

Attach the monster head to the back of the box using either glue or tape (you may want to print it on white card stock so that it stands a bit better).

Glue/tape the monster's mouth to the front of the box- lining it up with the top of the box.
Now your monster is ready to decompose for you!
Feed him some counters (or chips, cereal, marshmallows, etc!)...

...and he will decompose them for you into 2 groups!

Play it over and over to see all the different ways he can decompose numbers! Focus on just one number (ex how many ways can we decompose 5?) or let your students explore with varying amounts and make their own discoveries (ex. I gave him 6 and he decomposed it into 3 and 3 and then 4 and 2!)
We aren't up to the unit yet, but the kids spied the monster on my table, so to build excitement...


So now you are probably wondering...how can I print all these instructions? And how do I get that monster?
Easy for you, I put all the pictures, monster template and directions into a PDF...but better yet...I also put in...

a recording sheet and...printable for making class posters...
and it's FREE!
To show your thanks, feedback is always appreciated!

So now it's time for you to head over to TPT and get your pack!
I would love to hear how these monsters were used in your classroom and/or any thoughts you have about them!
I am linking up with Teaching Momster for the Wednesday Weekly Math Link-Up!
This week's link up is all about decomposing numbers!
Click this button to read more!

Until next post,


Okay, so I have to share. I was oohing and ahhhhing the 'Decomposing Monster' as it was printing out, and my wonderful, yet CLUELESS about kinders, husband asked for an explanation...when I finished with how this cutie works to show that the decomposing monster helps the littles begin to comprehend fact families, he walked away mumbling...'Well, that decomposing monster doesn't stink...won't that confuse them when they get to your plants and flowers unit?'...and then, he laughed at his own joke! Good thing I love him!!!
ReplyDeletethis is AMAZING! i really can't believe that i am going to say that i'm actually looking forward to decomposing numbers this year! thank you so much for sharing this with us!
ReplyDeleteThanks for your Monsters, but also your great explnation of everything in your blog.
ReplyDeleteLove it - I still don't really understand the difference between composing and decomposing. lol
ReplyDeleteComposing is putting 2 numbers together to form a new number; Decomposing is breaking a number into 2 parts. When I went to school we called them 'fact families!'
Delete